Here is a detailed guide on how to set up and manage automated Looker Studio (former Google Data Studio) email reports. You can find the basic guide in Looker Studio Help.
// Also, don’t miss out on subscribing to my email newsletter, where I share my new Looker Studio templates and SEO experiments.
1 Click Schedule email delivery in the top right corner

2 Add the email of users who will get email reports
Important note! The Schedule email delivery feature has no relation with the Share/Invite people feature.
- If you add an email in the Schedule email delivery feature this email won’t appear in the Share/Invite people feature and vice versa.
- In the Schedule email delivery feature you can add non-Google email address for receiving reports. In the Share/Invite people feature only Gmail addresses are accepted.
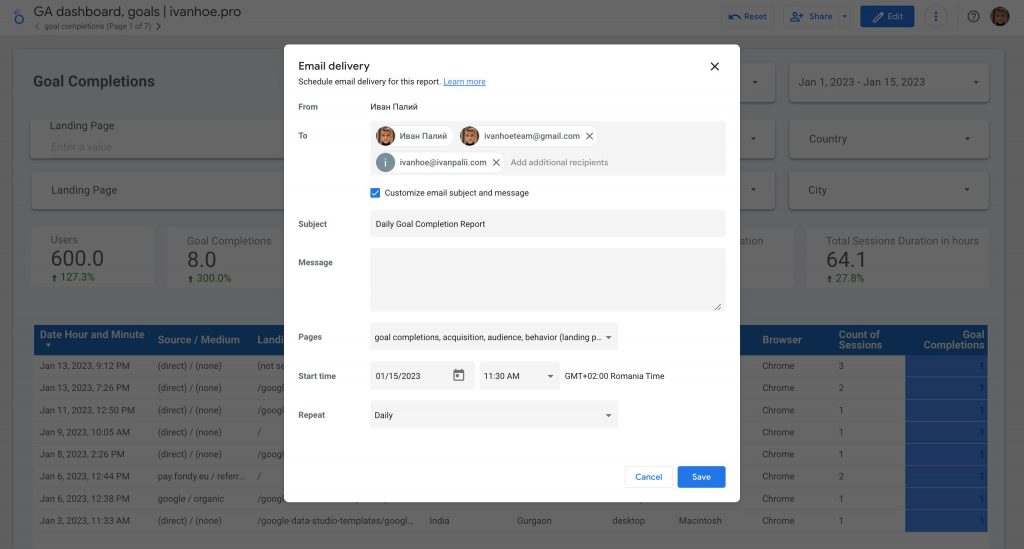
3 Customise email subject and message
I always recommend customizing these fields because the email receiver should quickly recognize what is the email about and how to use it. The receiver also can get many Looker Studio reports at the same time and he should see the difference between them.
4 Choose pages that will be included in the email report
If your report consists of many pages I recommend including only the most important ones.

5 Choose a time and periodicity when the report will be delivered to the email
There are exist following options:
- Daily
- Weekly on Sunday
- Monthly on the 3rd Sunday
- Every weekday (Monday to Friday)
- Custom.
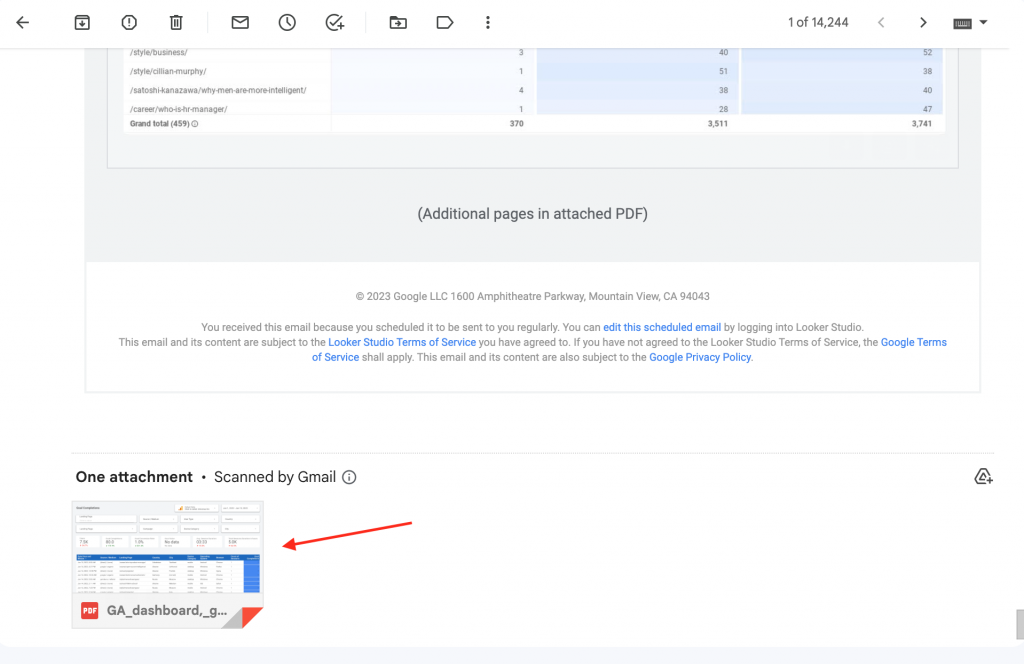
Done. Below is an example of an email report.

Every report contains a PDF attachment and link to the report in Looker Studio.
Do you have any additional questions? Write them in a chat.
Get answers to other questions related to Looker Studio
- Can I embed the Looker Studio report into Google Slides?
- Can I set up Looker Studio alerts?
- How to manage sharing and access control in Looker Studio?
Check popular Looker Studio templates